4.5 Execute Aerial Triangulation and View Results
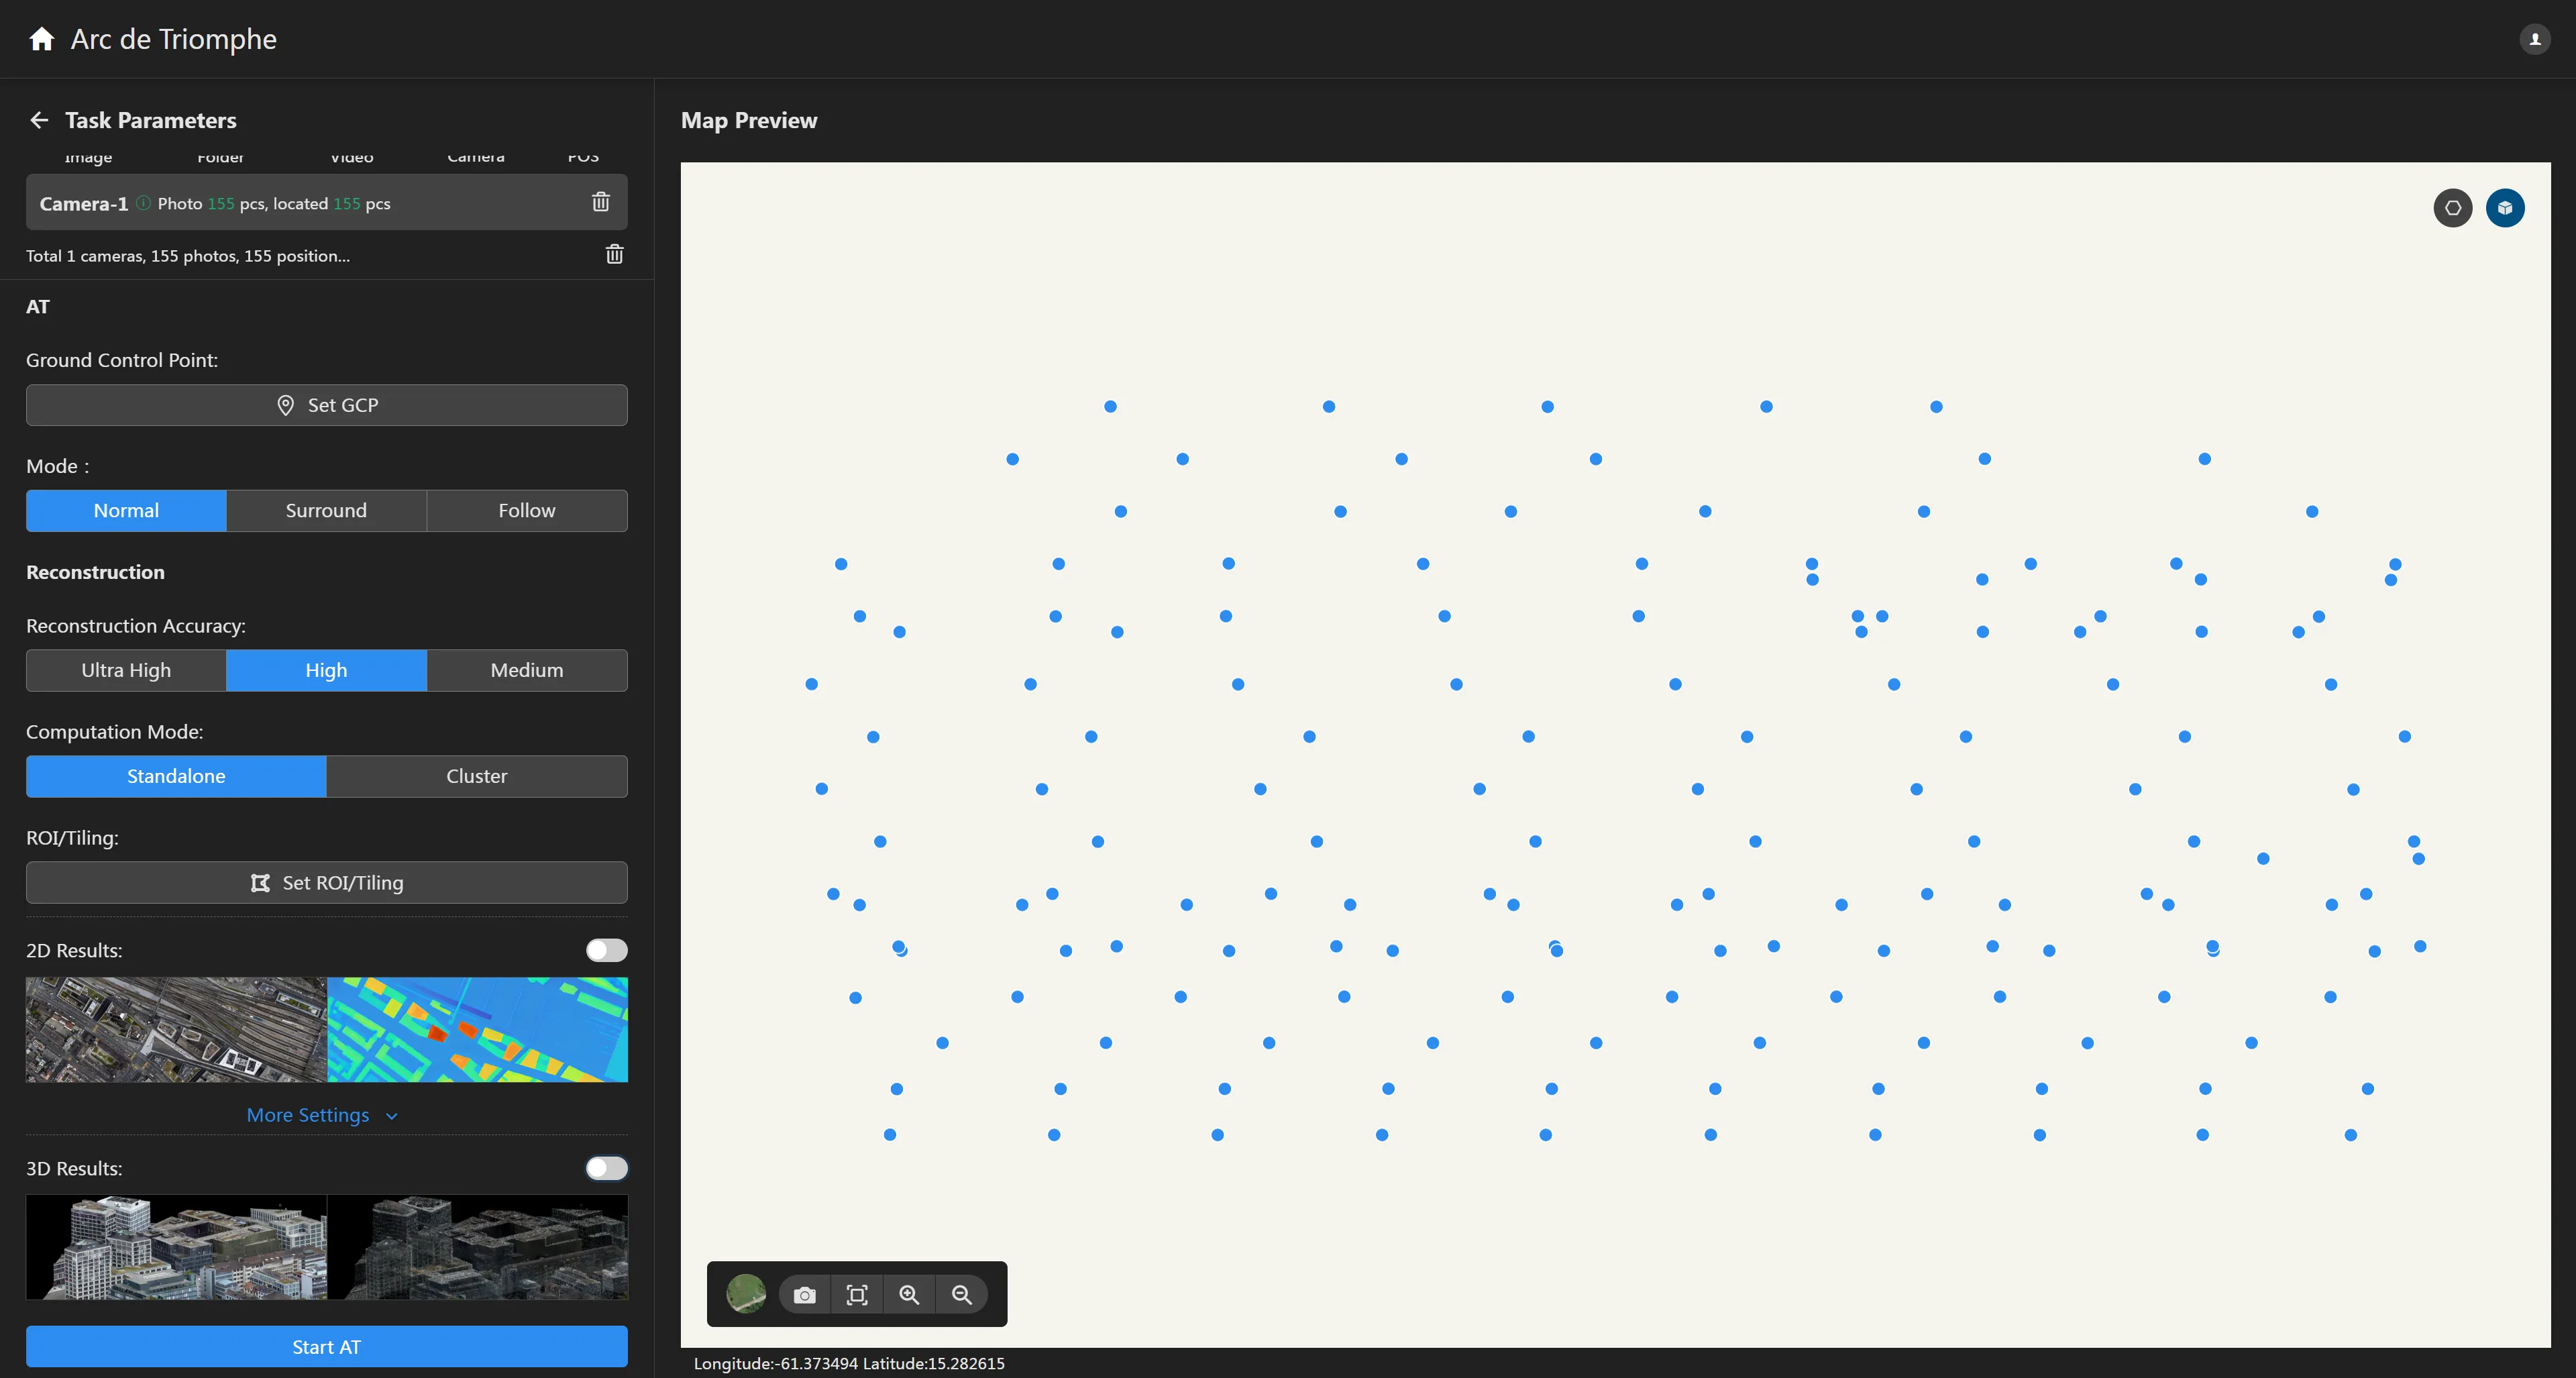
The software supports separate aerial triangulation and reconstruction. If the task only requires aerial triangulation, or if you need to set the region of interest more precisely, you can proceed as follows:
Import Photos
Importing photos is the same as for a reconstruction task. If your photos require importing additional POS files or setting up cameras, refer to 4.2 Edit POS and 4.3 Setup Multiple Camera.
Disable Reconstruction Results
Turn off both "2D Results" and "3D Results". At this point, the reconstruction button will change to "Start Aerial Triangulation".

Start Processing
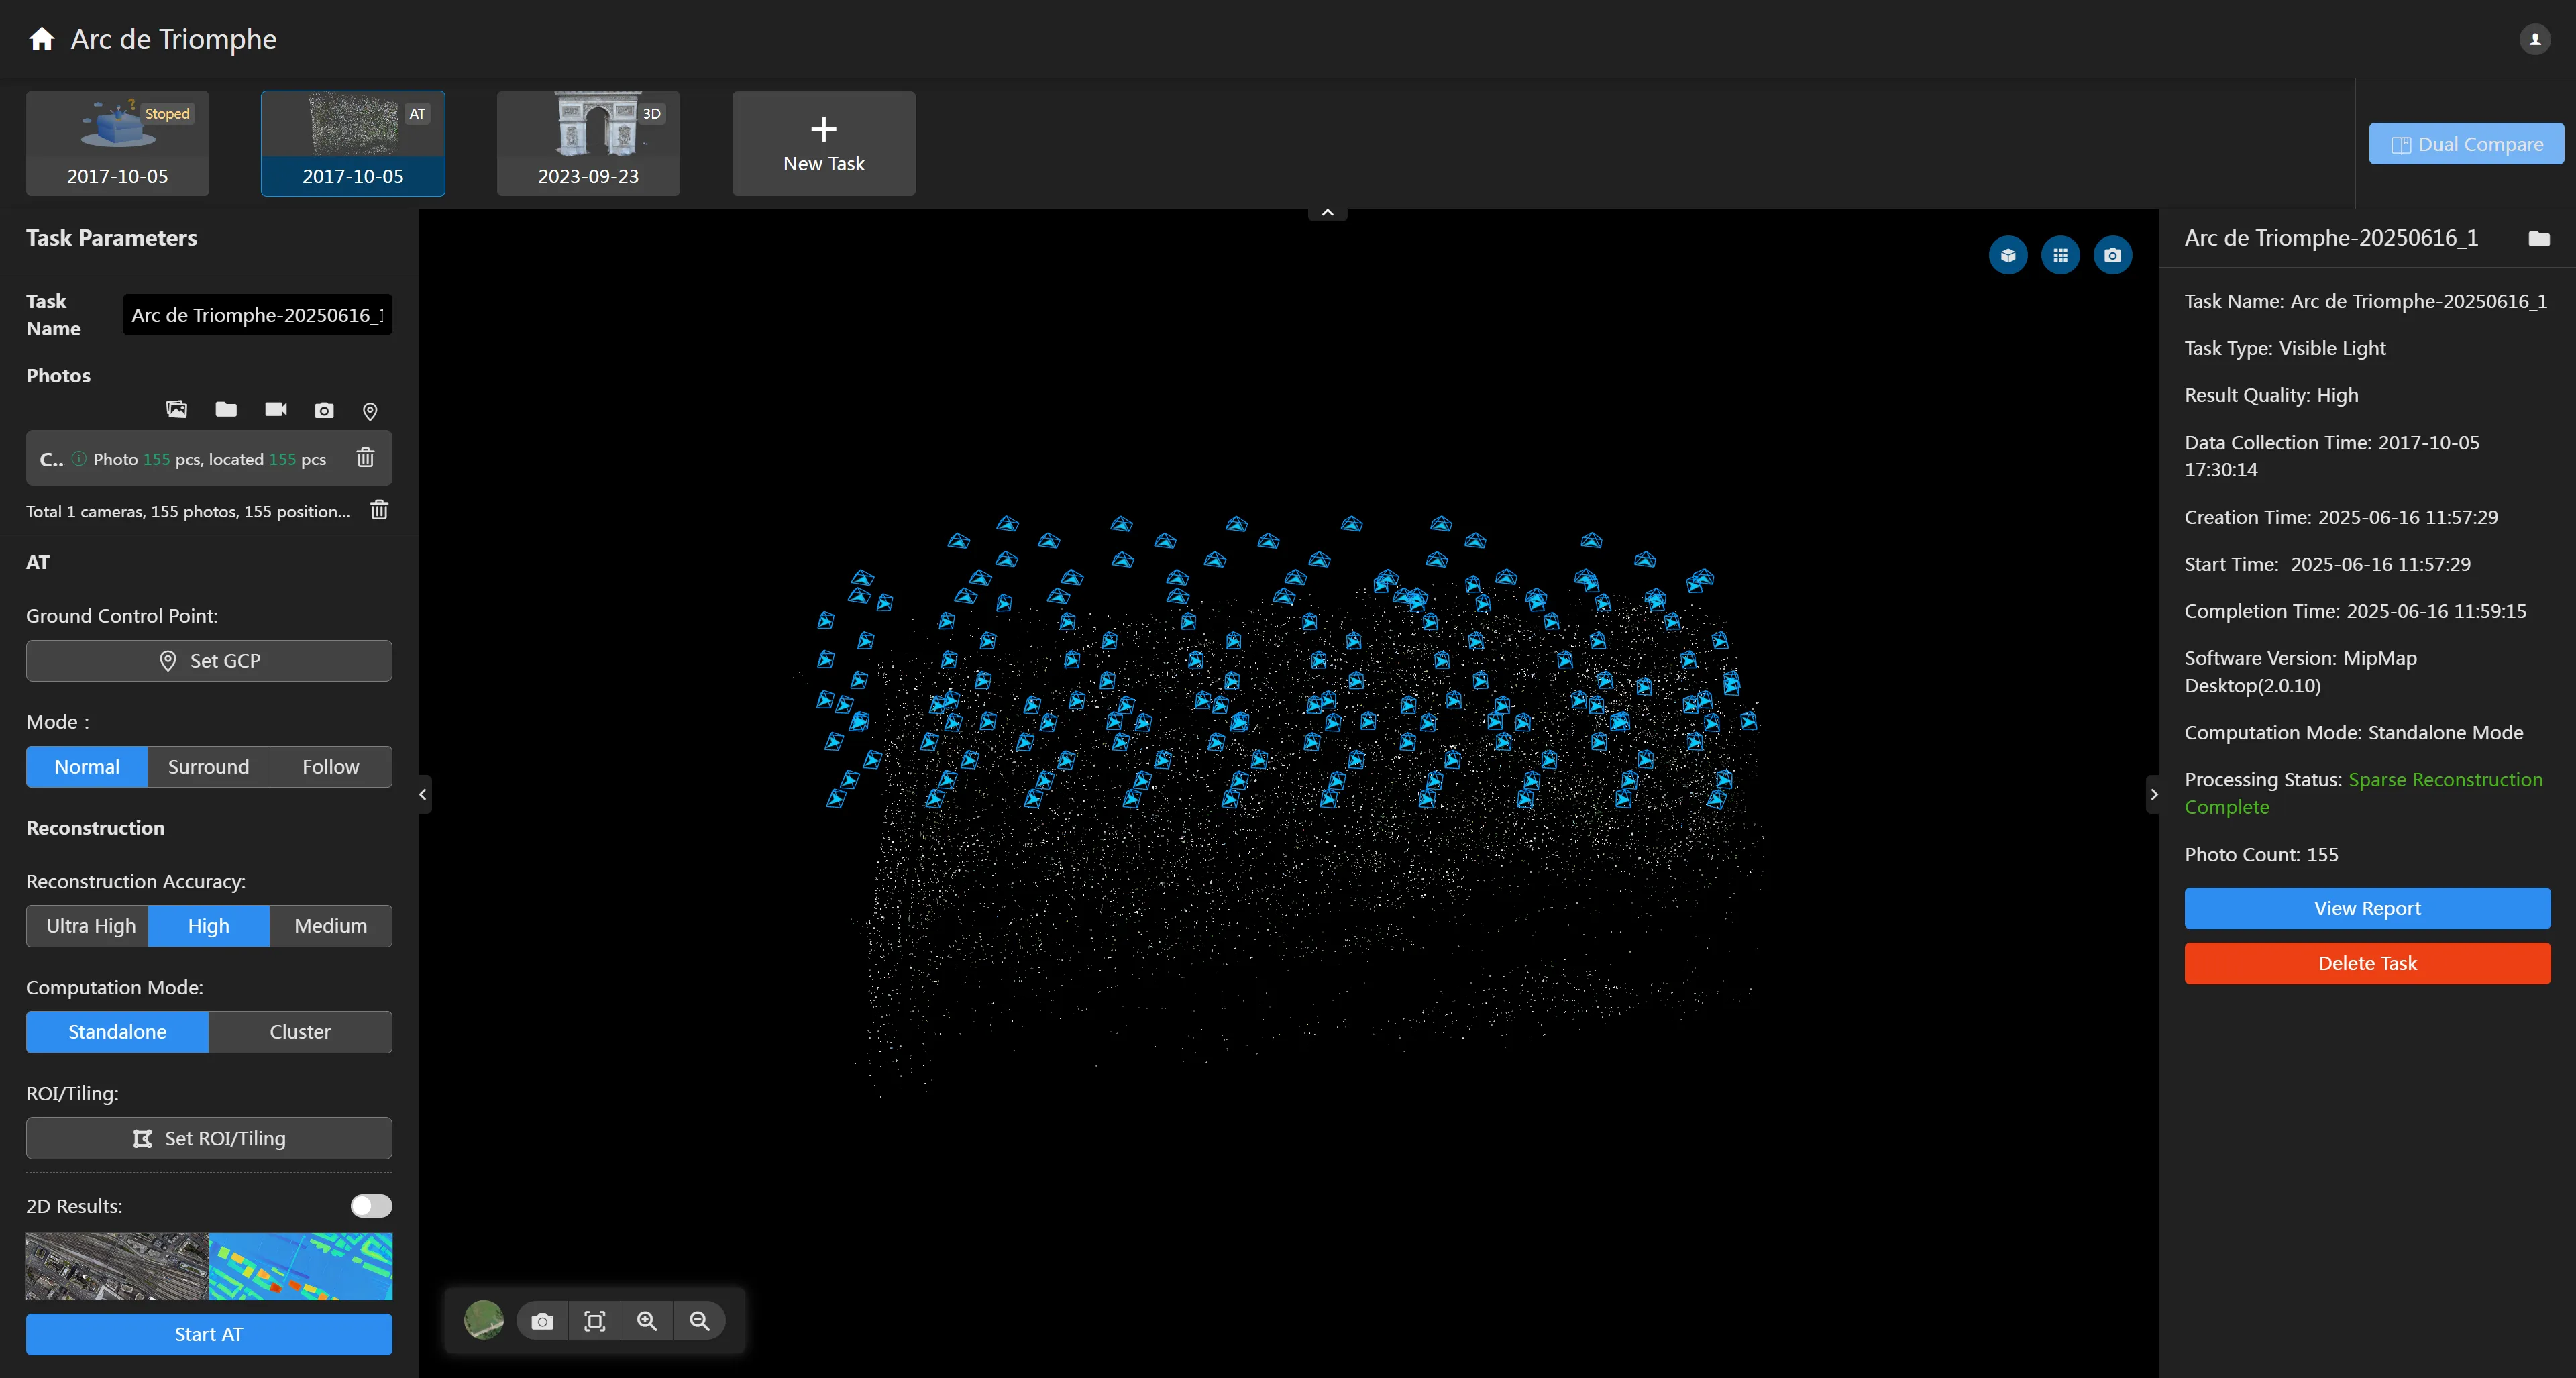
Click the "Start Aerial Triangulation" button to begin task processing. After processing is complete, the aerial triangulation point cloud results will be automatically displayed.

After aerial triangulation is finished, you can view the aerial triangulation results in the basemap area, including camera poses and the aerial triangulation point cloud.
Click the Display Camera Poses button in the upper right corner to display the camera pose cones after aerial triangulation. Hovering the mouse over this button allows you to set the size of the camera cones.
Click the Display Region of Interest button
in the upper right corner. The preset region of interest will be combined with the aerial triangulation results, displaying the region of interest bounding box on top of the aerial triangulation point cloud.
Click the Display Tiling Grid button
in the upper right corner to display the grid information for custom tiling. If there is no tiling, it will not be displayed.